Build with Style
Build with Confidence
We are passionate about what we do
Scroll for a basic guide to get started
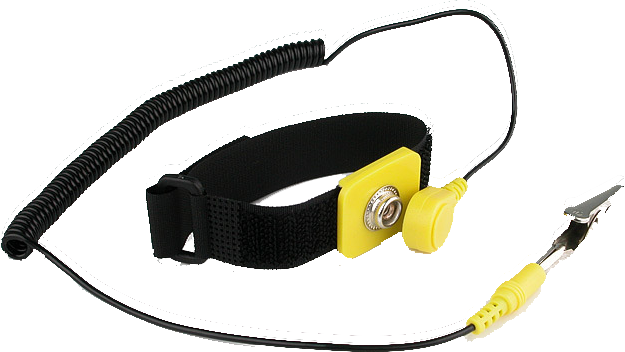
First step - prepare a suitable working area.
Preferably an Anti Static surface.
A screwdriver is usually the only tool you will need, but isopropanol and an anti static wrist band are desirable.
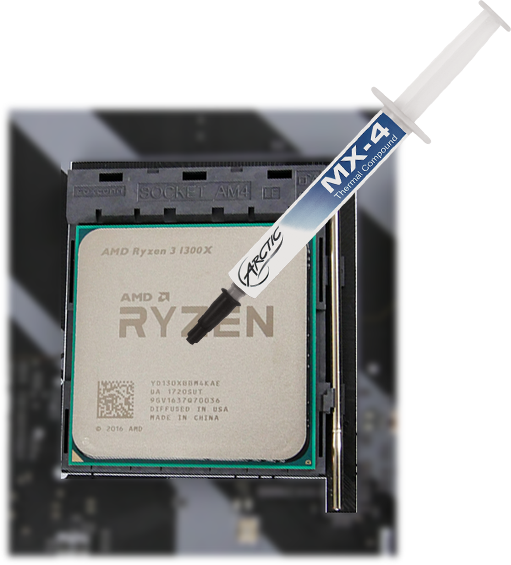
Next the CPU, RAM and CPU Cooler can be installed.
Match the triangle on the CPU with the motherboard.
The CPU should go in without any pressure, and the RAM should then be installed. Followed by the CPU cooler, if you are using an aftermarket cooler, don't forget thermal paste.
Now is an opportunity to install all your drives and connect them.
And route all your cables properly for a better aesthetic.
If you have any NVMe SSDs, it is especially importat to install them before the next step, and if not - connecting SATA drives is easier done now than after the next step.
The motherboard can now be installed into the case.
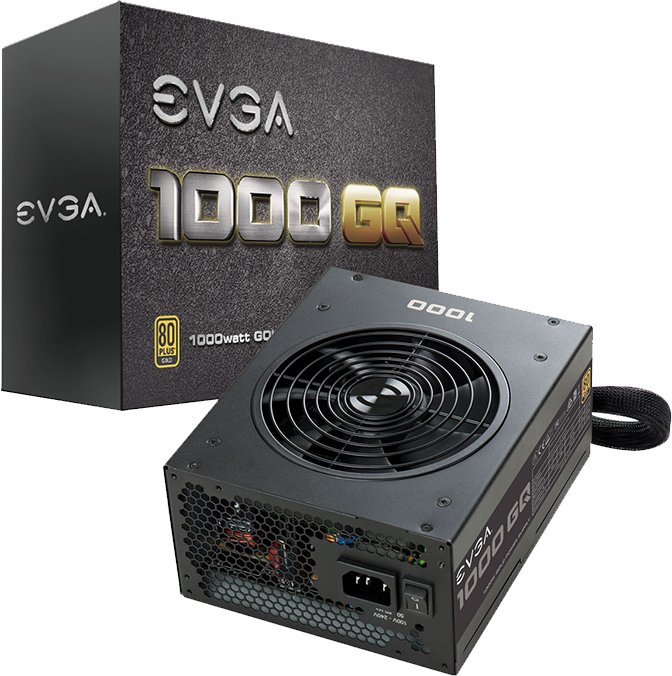
Followed by the power supply.
Keep in mind that the rear I/O shield has to be installed first if it's not pre-attached, and make sure all the standoffs are in the right positions.

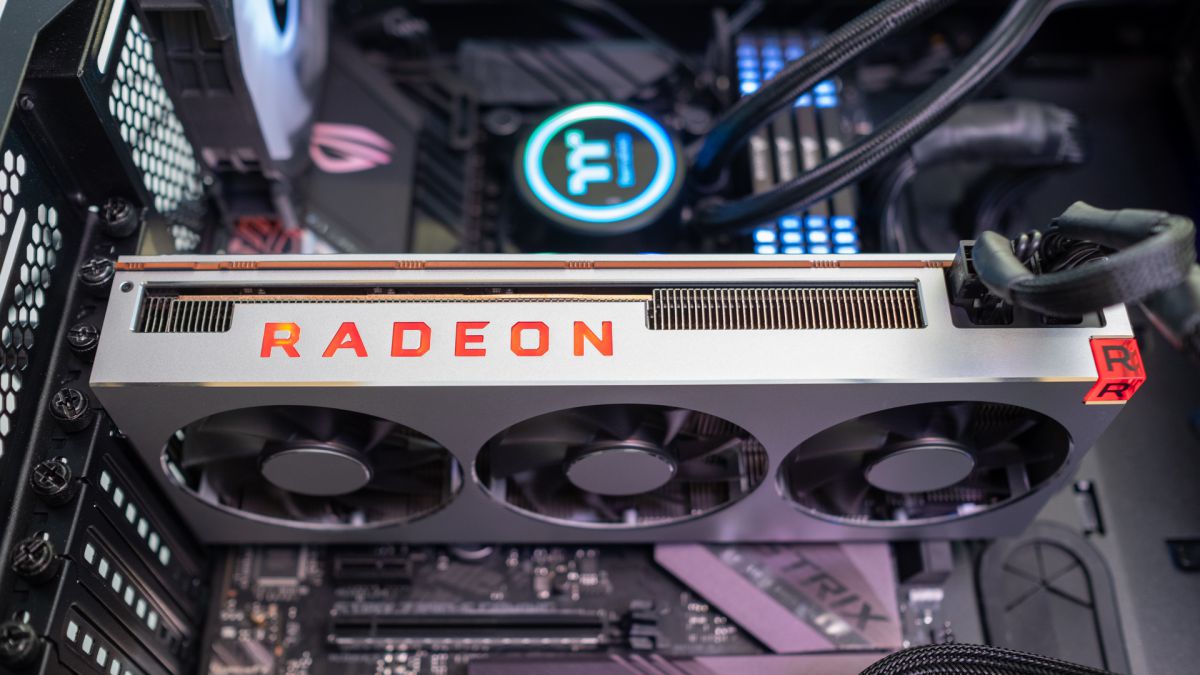
The final step is installing the graphics card.
Take off the PCIe cover and slot the card in.
You will need to route as many 8-pin PCIe power cables as your card has slots, and after connecting them you should be good to go.